Become a notorious note-taker with the Cornell Method
Learn how to turn this proven note-taking system into your secret focus tool with your reMarkable paper tablet.
Note-taking is about more than transcribing. It’s about capturing key information, processing it internally, and presenting it in a way that makes it easy for you or someone else to consume at a glance.
If you’re looking for a new way to take meeting notes, give the Cornell Method a go.
What is the Cornell Method?
This note-taking system, created in the 1950s at the Ivy League university of the same name, promotes clarity and reflection — so it’s perfect for teams that need to stay focused and make informed decisions.
It only takes a couple of tweaks to adapt the Cornell Method to an office setting. Create a new notebook using the Cornell template to familiarize yourself with the layout, and then follow the guide below to learn how to make the most out of it with your reMarkable paper tablet.
“Forgetting wipes out information like a tornado. Taking notes will provide disaster relief."
- Walter Pauk, creator of the Cornell Method
How to use the Cornell Method
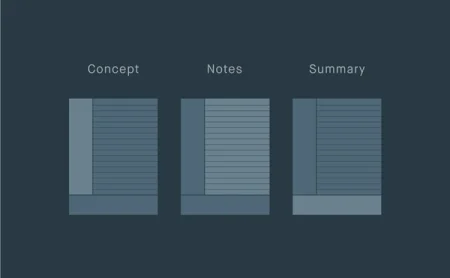
The Cornell Method involves dividing every page of your notebook into three clear sections, each with a specific role:
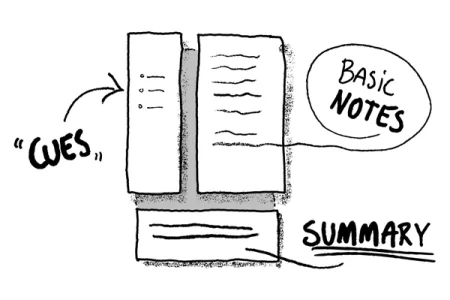
Notes section
The lined section on the right is where you’ll record your main notes, thoughts, and ideas from the meeting. This is the largest section of the three, but space is limited for a reason — use short sentences, bullets, symbols, and abbreviations to keep your notes as concise as possible.
Different writing tools and stroke thicknesses make your notes easy to review after the fact. Try experimenting with ink colors and highlighters to add emphasis to data, ideas, and other important takeaways.
Read more:
How to get started with writing tools
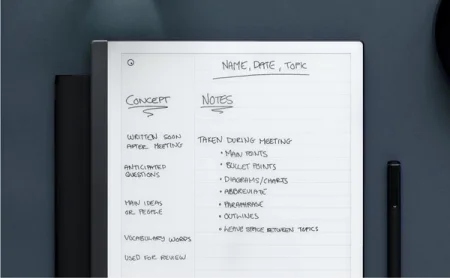
Cue section
The column on the left is a space to distill what you’ve written in the notes section. Write down overarching topics that tie your notes together, keywords you want to look up, and “cue” questions to jog your memory — hence the name of the section.
Think of the cue section as a kind of reverse agenda. As you review what you’ve written in your notes and fill in the cue section, you build a list of the most important topics covered in the meeting. This exercise may also be helpful as you decide what tags to create and add to your notes to sort them.
Read more:
How to get started with tags on reMarkable
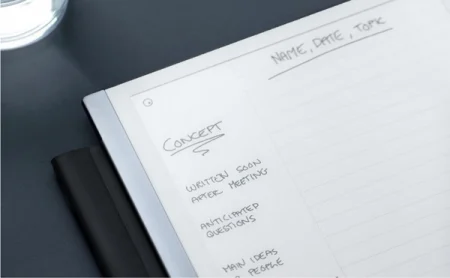
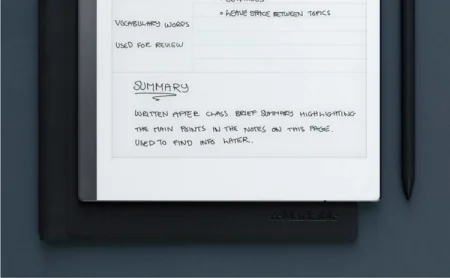
Summary section
The empty space at the bottom of the page is an opportunity to take a mental step back and capture the big picture. In no more than a sentence or two, write down the main point or takeaway from the meeting. When scanning your notes, reading this summary will save precious time.
You can also get creative with this section. Instead of a summary, you can create a small to-do list with the most important tasks to emerge during the meeting, and then check the tasks off as you go about the rest of your day.
Bonus tip:
The reMarkable mobile and desktop apps are perfect for zipping through meeting notes. If you’re consistent about how you use the highlighter and different ink colors throughout your notes, you can quickly rediscover important pieces of information when reviewing your notes in the apps.


